


Shipping Container Conversions 20ft Sliding roof
Pricing
*Call For Delivery Costs
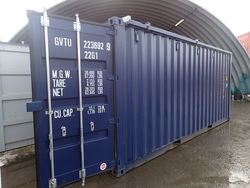
Our client, E.ON Climate & Renewables, requested a container conversion for their gas park storage site in the UK. This was a particularly detailed conversion, with many unusual features, most notable being the sliding roof. This was constructed to allow loading and unloading from above, instead of using ground level doors.
CD Code CS23516
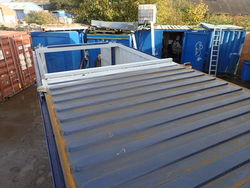
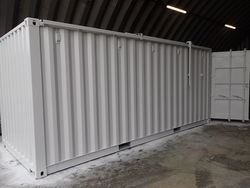
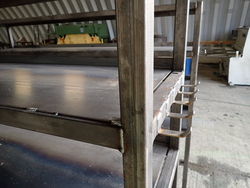
The container roof was cut to make a slide open section measuring 10ft.
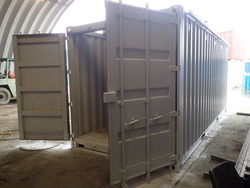
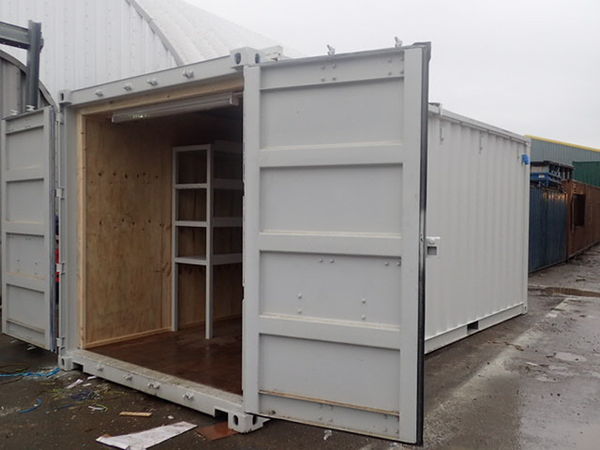
The entire exterior of the completed container was resprayed in light grey, for a smart and professional appearance.
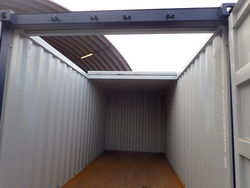
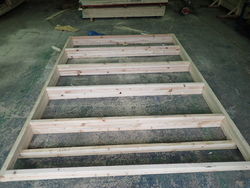
Lining and insulating containers is a very common job, and usually a fairly straightforward process. However, for this job, ply lining the sliding roof required a sliding frame for the lining too! We would usually use 12mm thick ply for a job of this sort, but in order to allow room for the roof sections to slide one over the other, we had to half this thickness for the roof section.
This was our first task:
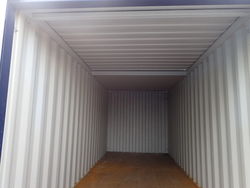
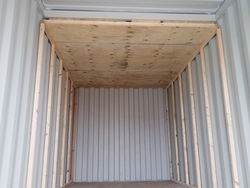
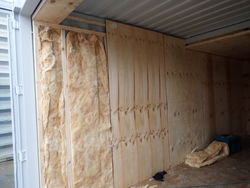
Next we fit the ply frame to the roof, and create a ply framework for the walls. After this is fitted we can pack in the insulating material, and board over with ply panels:
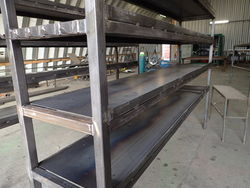
This was built in our workshop, along with the steel worktop and hooks, painted, and fitted into the container, when all other work was complete.
The electrics are installed prior to installing the shelving, and any if needed, any exterior paintwork is touched up afterwards.
With all work completed, the container is now ready to be delivered.
Features
Design
Main features:
- Once used 20ft container with original doors
- 10ft Sliding Roof Section
- Ply lined and insulated with 12mm ply for the walls, 6mm ply for the roof
- Fitted with an 8ft x 3ft steel worktop including two pull out drawers ,
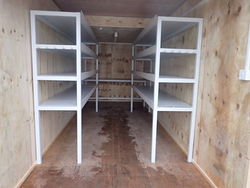
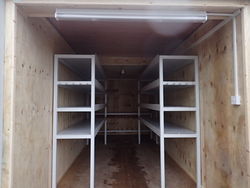
- 20ft of welded shelving with 50mm lip
- 10 heavy duty 3mm steel hooks
- Installed with electrics to include: two 5ft strip lights, two double sockets, consumer unit, external hook-up, one 2kw wall heater
- Repainted in RAL7035 Light Grey
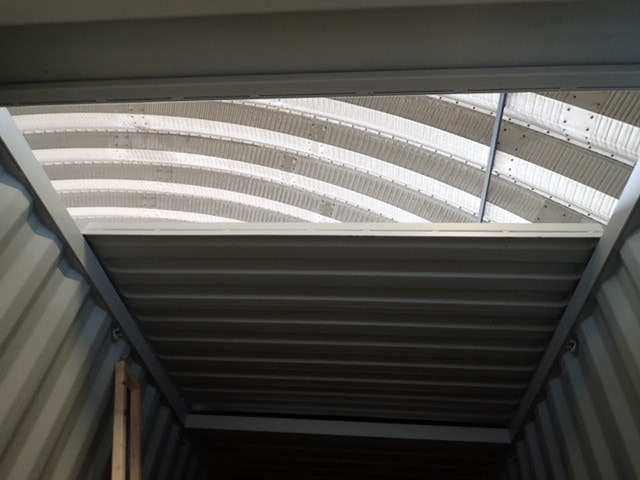
Step 1 - The sliding roof
The container roof was cut to make a slide open section measuring 10ft.
Step 2 - Repainting
The entire exterior of the completed container was resprayed in light grey, for a smart and professional appearance.
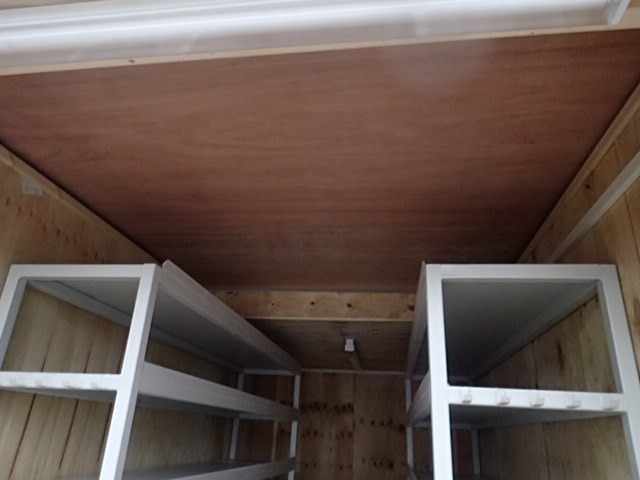
Step 3 - The ply lining
Lining and insulating containers is a very common job, and usually a fairly straightforward process. However, for this job, ply lining the sliding roof required a sliding frame for the lining too! We would usually use 12mm thick ply for a job of this sort, but in order to allow room for the roof sections to slide one over the other, we had to half this thickness for the roof section.
This was our first task:
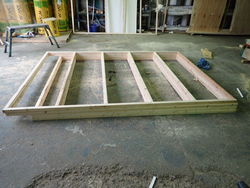
Next we fit the ply frame to the roof, and create a ply framework for the walls. After this is fitted we can pack in the insulating material, and board over with ply panels:
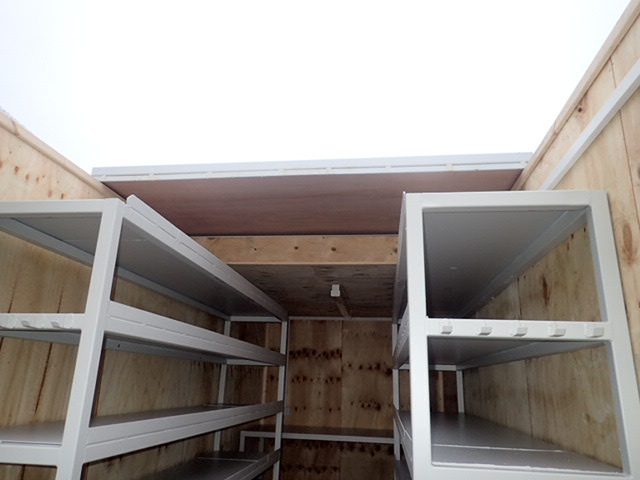
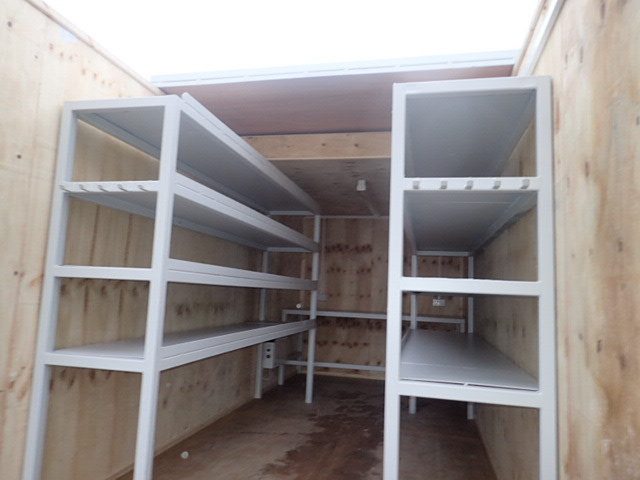
Step 4 - Bespoke shelving
This was built in our workshop, along with the steel worktop and hooks, painted, and fitted into the container, when all other work was complete.
The electrics are installed prior to installing the shelving, and any if needed, any exterior paintwork is touched up afterwards.
The completed container
With all work completed, the container is now ready to be delivered.
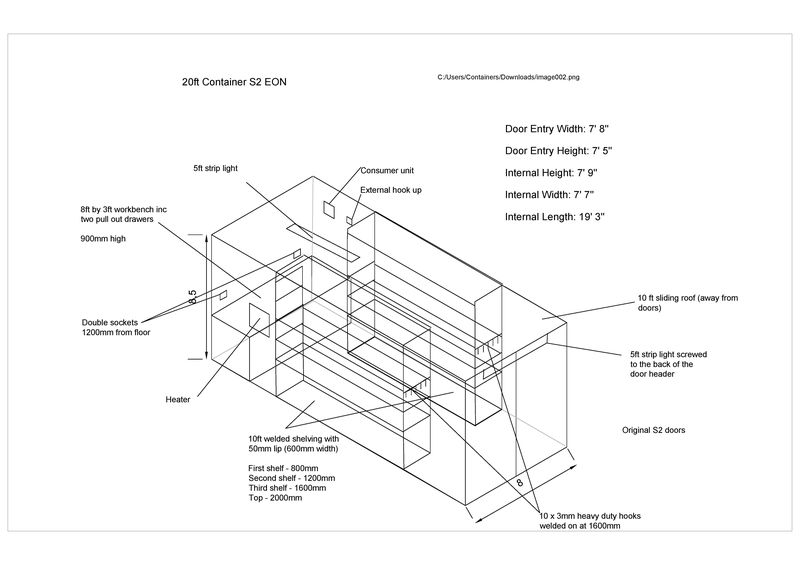
Before work commences on the container, we use computer-aided design (CAD), to produce a plan for our client's approval:
As with any product, specification is subject to change without prior notification. You are advised to confirm current specification before buying.